Topics
Lego Computer
This was originally published on my WordPress blog on June 25, 2008. I've migrated my existing posts over to here.
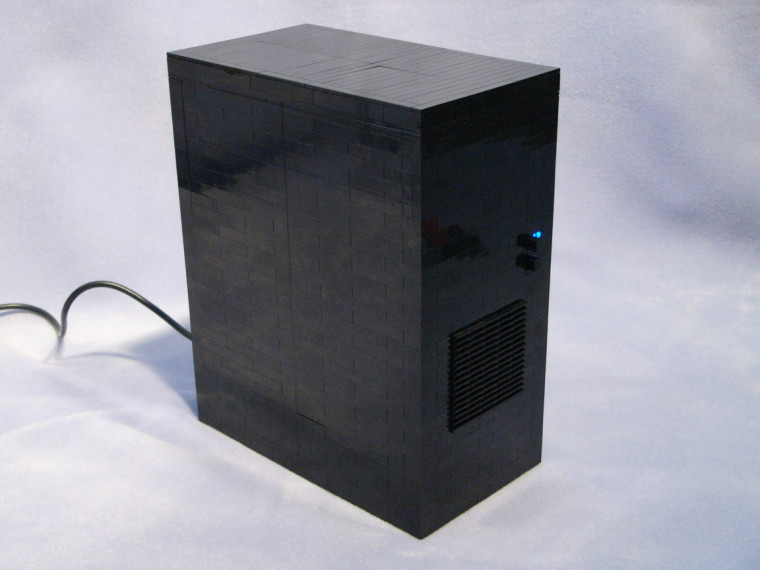
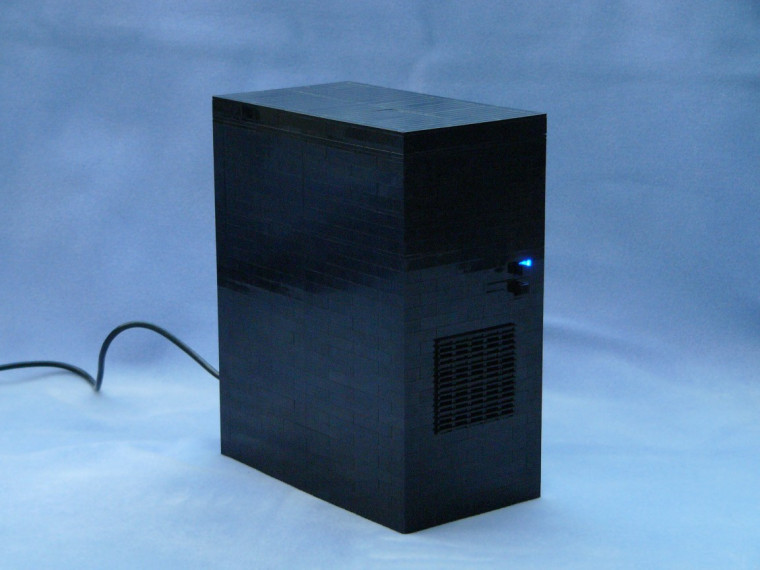
I decided I wanted to build something, and I wanted a small computer to use as a web/development server. What better to do than make it out of Legos?
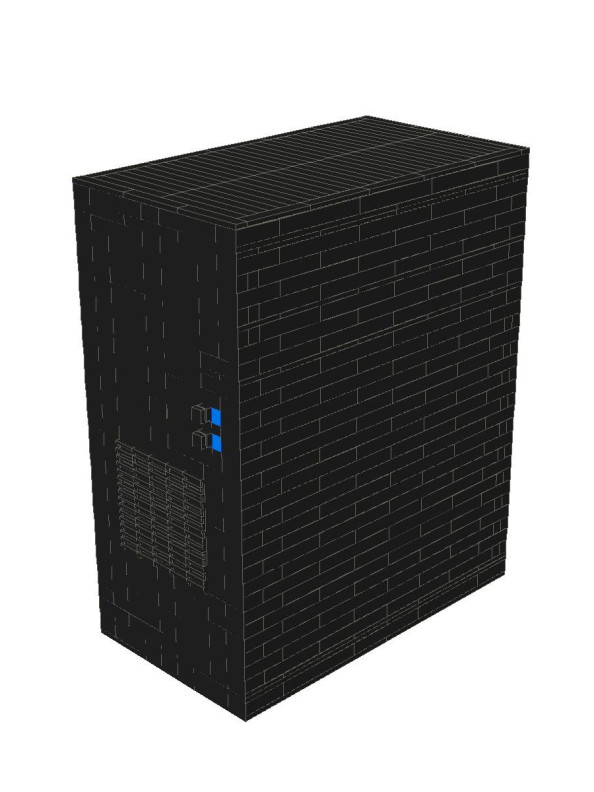
Using MLCAD, I started working on some preliminary models. MLCAD is basically a primitive CAD program for Lego bricks. It uses the LDraw parts library, and you can export your models to purchase the parts at BrickLink. It's a bit buggy, but it's the best software out there for this sort of thing.
As it turns out, Lego bricks are a little under 8mm square, and 9.6mm tall. This makes them remarkably perfect for a number of computer components... although, as it turned out, not perfect for them all.
Since I was trying to make something small and low-power (and of course, inexpensive), I decided on the Mini-ITX form factor. These little motherboards measure 170mm square and consume very little power.
 Intending to use it as a network device, I chose a JetWay motherboard with dual gigabit ethernet ports. It has a 1.5GHz VIA C7 processor, accepts up to 1GB of DDR2 RAM, integrated audio/video, 2 SATA, and cost $120 at the time. The accompaniments include a stick of cheap Kingston RAM and a half-height Seagate Barracuda 7200.10 250GB hard drive. A couple Zalman fan controllers to keep it quiet and an Antec 80mm fan to get some air flow. The NewEgg total was a little over $250 after shipping and tax.
The whole thing would be powered by the amazing PicoPSU. I aquired an open-box PicoPSU on eBay for $30 and bought a 110 watt 12v power supply from mini-box for about $40 shipped. A couple odds and ends from Directron added another $20, and that tops off all the parts. Then, the Legos...
 With the parts chosen, but not yet purchased, I had to design the case. Based on dimensions I found online, I made paper cutouts of each part and converted them to Lego dimensions to decide how they would best fit. For example, an 80mm fan is 10 bricks wide and 25 plates tall (three plates make the height of a brick). This made it easy to try a bunch of different configurations to figure out which one would be the most space efficient, have unobstructed air flow, and be easily accessible.
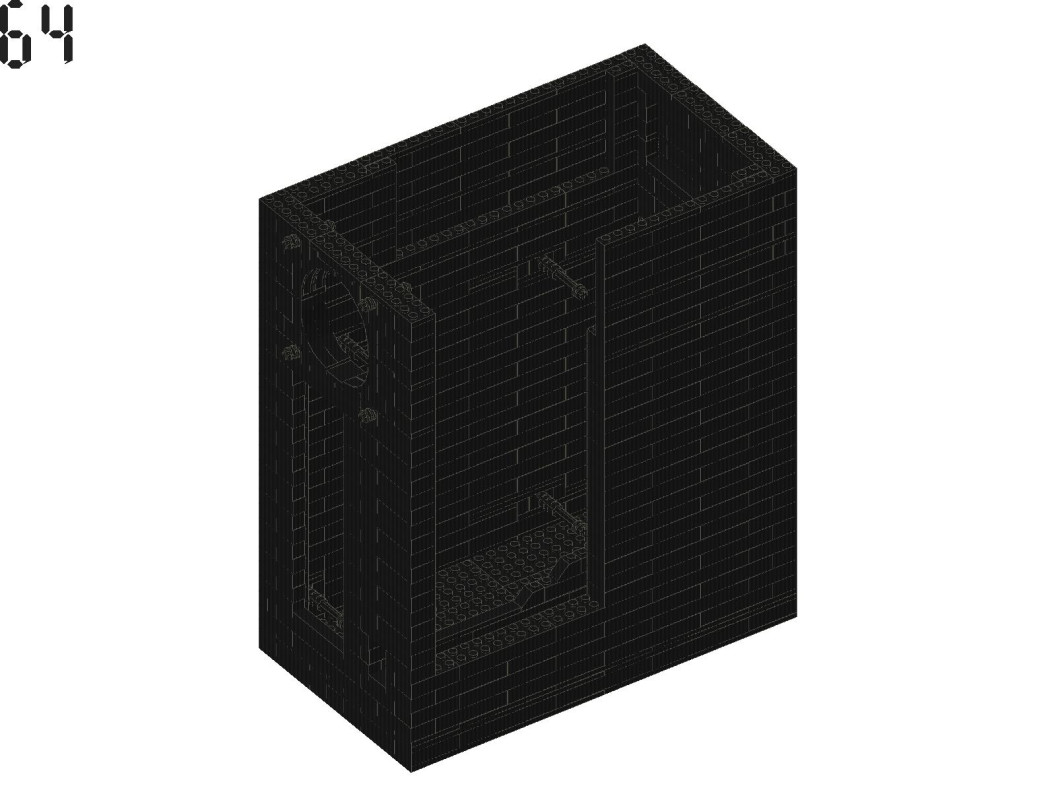 After many revisions, the final design turned out to have the power supply at the bottom, the hard drive cage at the top, and mounting points for 80mm fans on the front and back. To make it easy to get to stuff inside, the left side of the case is actually split in half to make a separate access panel. The lid lifts up and the side comes off.
 With MLCAD, I was able to export a parts list to Bricklink and it showed me sellers with the parts I needed. The 2x4, 2x6, and 2x8 bricks were the parts with the highest counts (105, 84, and 61 in the final model, respectively). Of course, these were the hardest to come by. I ended up using one seller for the majority of the parts, and three others for these major bricks.
 Since I didn't have the computer components yet, I was relying on manufacturer's specs and some creative measuring of pictures on my monitor. I wanted to order some extra bricks in case there had to be changes to fit stuff. (It turned out that everything fit nearly perfectly, so very few alterations were needed. More about that later.)
 The total brick count for the model was 1039. I bought 199 extras, bringing the total ordered to 1238. The cost was $124.715 for the needed parts plus $14.488 for the extras. Since I had to order from four dealers, shipping costs were $24.10. So, the total for all the bricks came to $163 and change. Not bad, considering an actual Mini-ITX case costs around $100 plus shipping. And would not look as good :) That brings the total to just around $500 for the whole project.
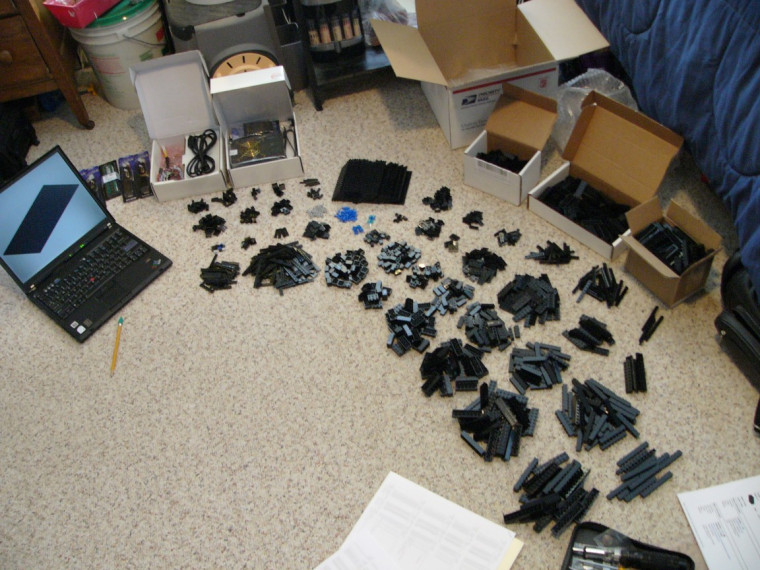
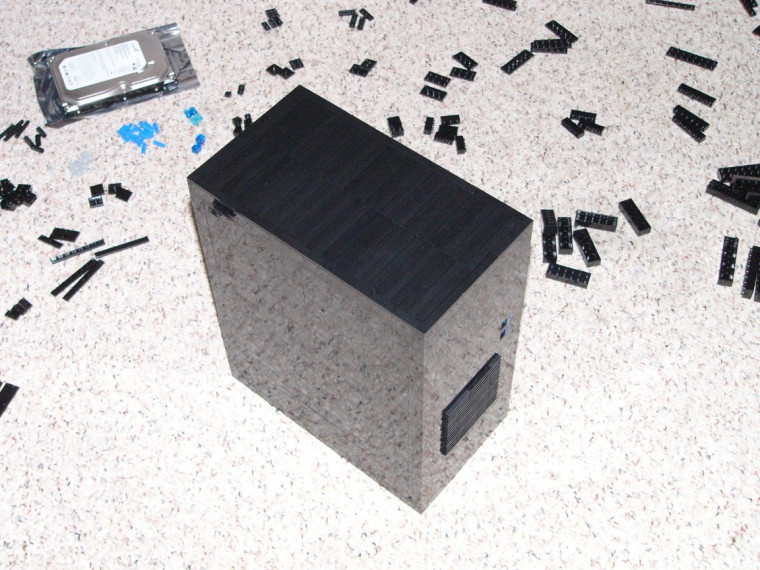
So, Lego bricks and components in hand, I get to work. I print out parts lists for each section, and export step-by-step images from MLCAD. I put the images on my laptop and laid out all the parts on the floor. About 2 hours later, I had an empty computer case. (See YouTube video at bottom)
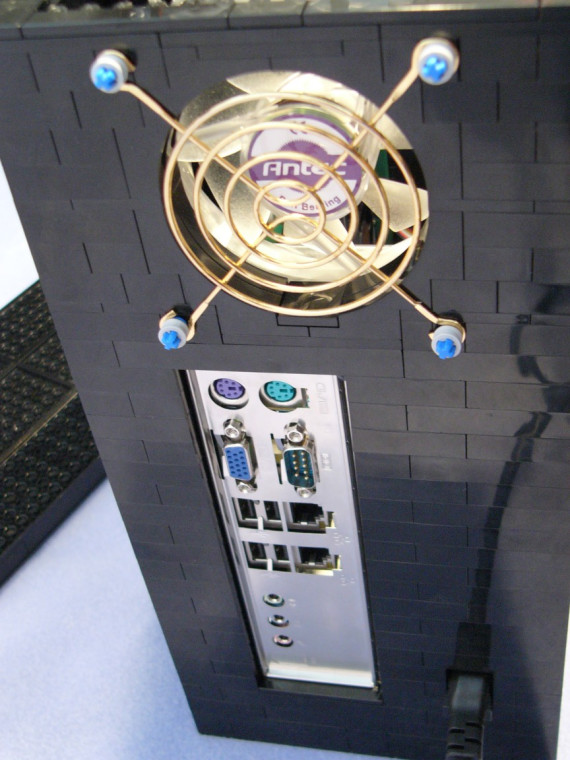
 Like I said before, everything fit nearly perfectly, but there were a few minor problems, all easily correctable. The female plug on the power cord was a tiny bit too wide for the slot, so I shaved it down a bit with a razor knife. The holes in an 80mm fan turned out to be just a little too small for a Lego axle. They also do not line up vertically, only horizontally. The solution to the first problem was to drill the fan holes a tad bigger.
 The solution to the second, unfortunately, was to only attach the fan by two holes. Luckily, it doesn't vibrate or bang around at all. Partly because of this, but mostly because of the huge lack of heat from the tiny motherboard, I decided to only use one fan. The other mounts are still there, but unused.
Just like with the fans, a Lego axle is a little too big for the motherboard mount holes. Of course, I was not going to start drilling holes through the PCB. Instead, I put the axles in a drill press and sanded them down until they fit. Whatever works!
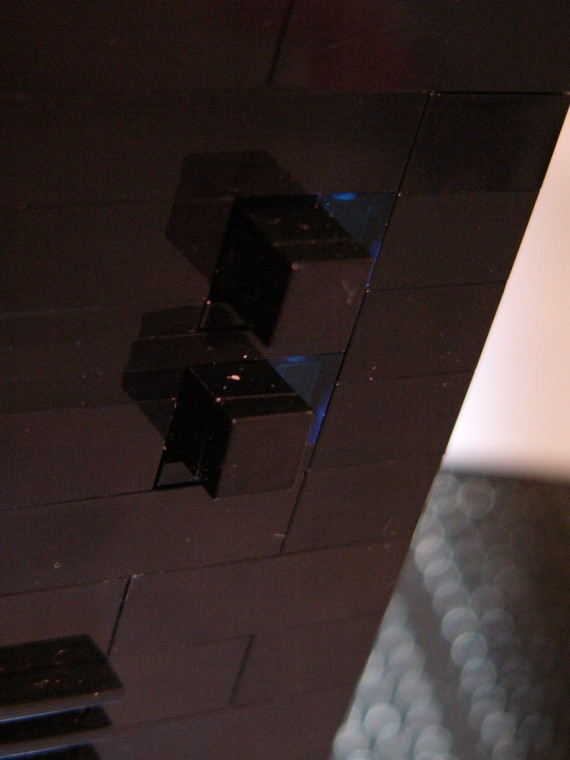
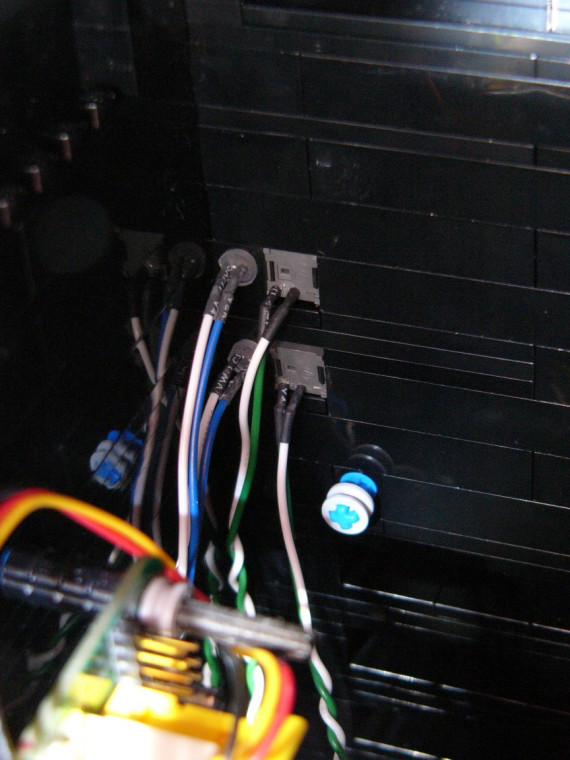 That was really the extent of the problems. Most things worked out amazingly well, like the ATX power switches fitting perfectly snug in the space of a 1x1 brick, and the LEDs fitting perfectly in a 1x1 brick with hole. I hot glued a 1x1 brick to the power and reset switches to act as buttons. I also put a dab of hot glue on each corner of the ATX I/O plate, which was just a little too small to fit snugly.
I also realized that I underestimated the cohesive strength of Lego bricks. When I first put the top on, I couldn't get it off! I had to add a nearly complete border of flat plates from my spare parts to get it to detach easily.
 All in all, I am very satisfied with how this project turned out. It's come in handy as a backup device, development machine, and home theater PC. Also great for homework :D
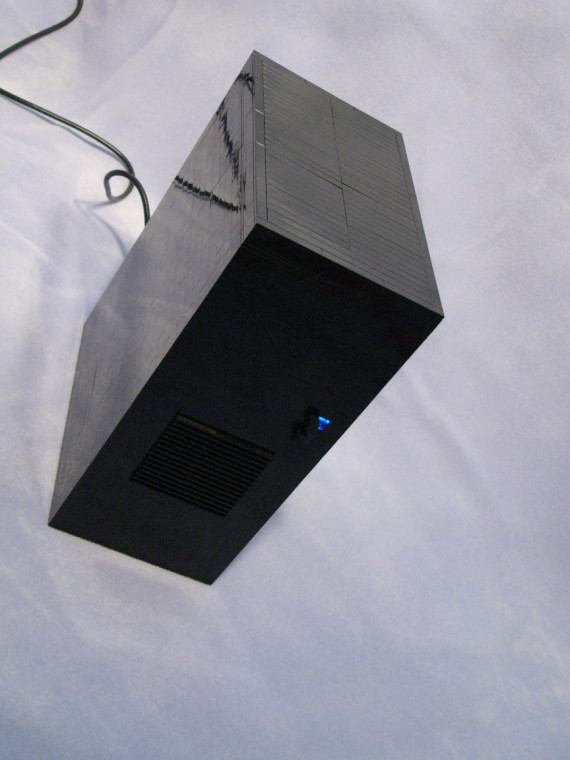 Anyway, hope you enjoyed seeing this, and congratulations if you actually read it all (ha). If you're interested in the MLCAD model (don't you want to build one now??) or have any comments/questions, feel free to ask.
Update 7/12/2008: The models are now available to download.
Here's the silly time lapse video I made of the assembly, set to techno music. Cliche & pajamas ftw :o
Thanks for reading!
Update 7/12/2008: I've packaged all of the design documents and released them under the by-nc-sa Creative Commons license. You can choose the small download (215 KB), which contains only the documents and part lists, or the full download (11.3 MB), which contains all of the assembly images as well. Check out the included README.html for details. I hope this inspires you to create something of your own. Thanks!
Update 8/08/2008: I decided to max out the case, so I bought another hard drive and set them up in a RAID1. I also added a second fan to the pre-existing mounts (needed to drill the holes in the fan with a 3/16" bit as before). I rerouted the SATA cables behind the motherboard and pushed some of the others out of the way to improve airflow.
I also got this fantastic little wireless PCI card for $10. I removed the PCI bracket, but the antenna connector protuded too far and the card wouldn't fit. What I did was desolder the connector, flip it around, and solder it back on. The card fits perfectly now. It's got a cheap little 2dBi antenna, but a surprisingly strong signal (especially considering how much electronic stuff is crammed in such a tight space). I might use it as an AP. Dunno yet. Anyway, that's all. Thanks again for all the feedback!
Update 7/16/2009: Moved downloads to a new location, the links should work now!
Update 3/17/2022: Migrated from WordPress to a new site!
