Topics
Chocolate Tempering
Tempering is necessary to give chocolate a nice appearance and long shelf life. I'll go over what I've learned about the process, and the techniques I use for doing it at home.
Background
Chocolate is primarily composed of cocoa solids, cocoa butter, and sugar. The solids and butter together are referred to as chocolate liquor. This has nothing to do with alcohol, but rather refers to its fluidity. This is what the percentage on commercially-made chocolate reflects. A typical 60% chocolate bar is 60% chocolate liquor (which, depending on the type, is about evenly split between cocoa solids and cocoa butter). The remaining 40% is sugar and small amounts of flavorings or emulsifiers.
The cocoa solids provide the "chocolatey" flavor (think: cocoa powder), while the cocoa butter gives it structure. Cocoa butter solidifies at room temperature, and crystallizes into six distinct forms. These are often identified using roman numerals I through VI. Each has a different melting point and appearance.
Form V crystals, also called beta crystals, are the most desirable, because they have a smooth appearance, a firm texture, and a melting point around 34°C (93° F), right below human body temperature. They also resist "bloom", which is when sugar or fat separates from the chocolate and causes a splotchy, whitish appearance.
Tempering
The goal of chocolate tempering is to very precisely melt the chocolate, in such a way that causes the cocoa butter to form exclusively beta crystals as it cools and hardens. There are generally three stages to this process: melting, crystallizing, and working. Different chocolates have different temperatures for each phase, but these generally go something like: melting at 49°C (120°F), crystallization at 22°C (72°F), and working at 32°C (90°F). The high initial temperature melts all of the crystal forms. During crystallization, forms I-V will be created. Finally, the working temperature is higher than the melting point of forms I-IV, but lower than form V.
After this process, you have melted chocolate mixed with form V (beta) crystals. As it cools and solidifies, the beta crystals will "seed" the surrounding chocolate. In a cascading reaction, this will induce new crystals which mirror the beta crystals, and the end result will be uniformly crystallized form V chocolate. It's a pretty neat trick, but how do we actually go about doing this in practice?
Temperature Control
The temperatures required for chocolate tempering to work are pretty narrow. A couple degrees too high, and you'll melt the beta crystals, preventing the chocolate from crystallizing properly as it cools. A couple degrees too low, and you won't have melted the undesirable crystal forms, which may cause the end product to bloom. A fast and accurate way to measure the chocolate's temperature throughout the process is critical.
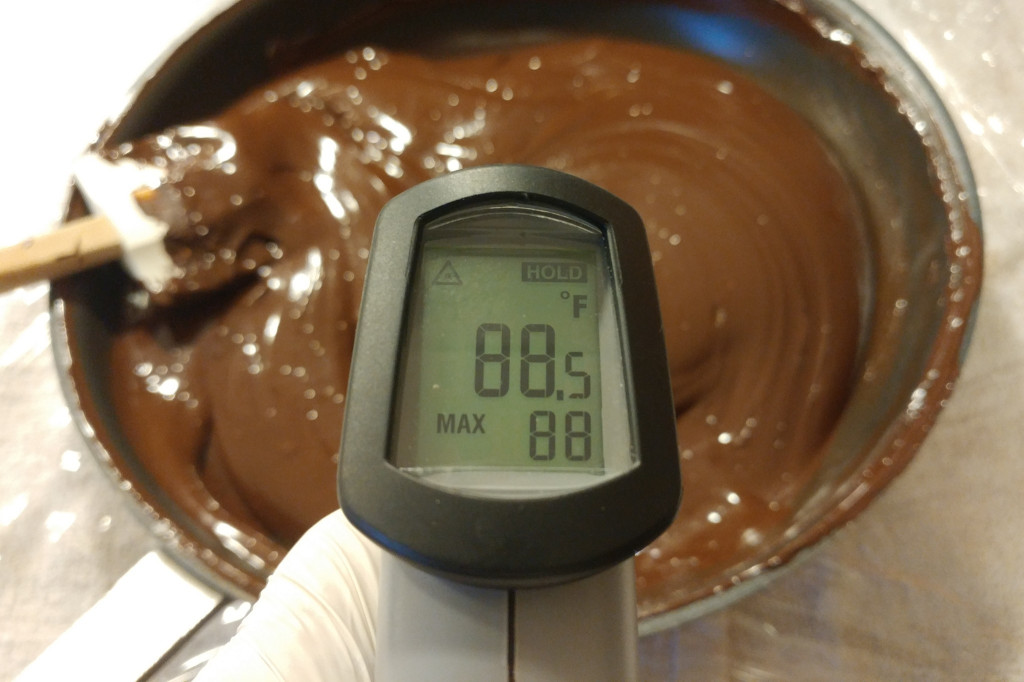
Infrared thermometers can be handy, but in general they only give you a rough idea of the temperature of things. They work by making assumptions about the emissivity of the object being measured. Shiny things are less emissive, so a typical infrared thermometer won't measure them accurately. Since melted chocolate is a bit shiny, an infrared thermometer is prone to underestimating its temperature. It's not a deal-breaker, but something to be aware of.
A probe-type thermometer is going to be a lot more accurate for this. Personally I really like using a Thermapen, because it's incredibly fast and accurate. Be sure to scrape off any chocolate that builds up on the probe as you go, which could affect the measurements.
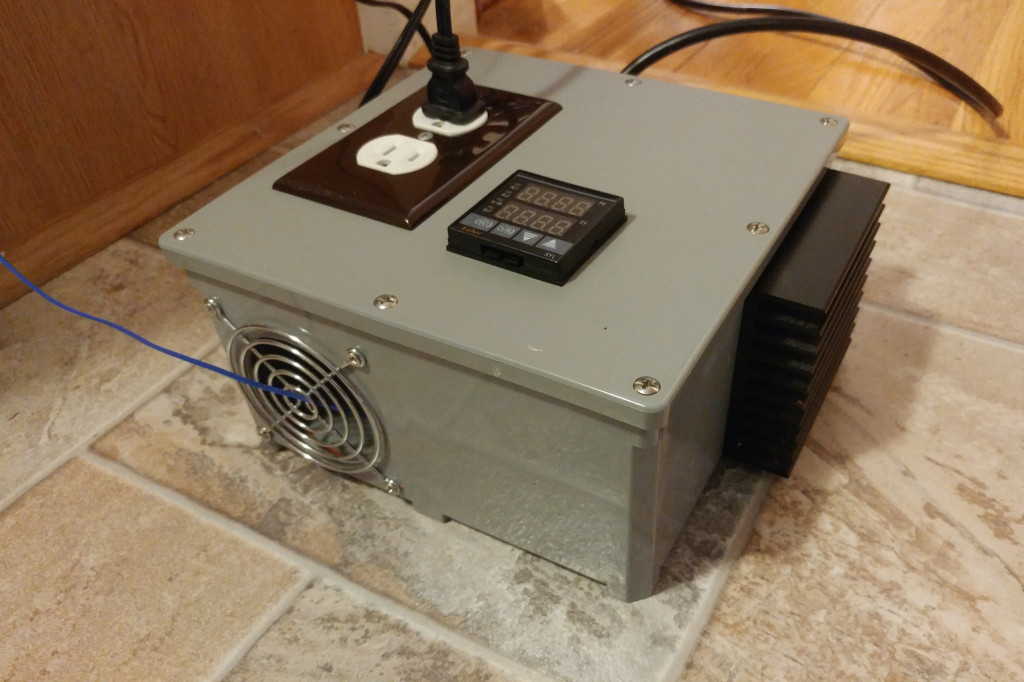
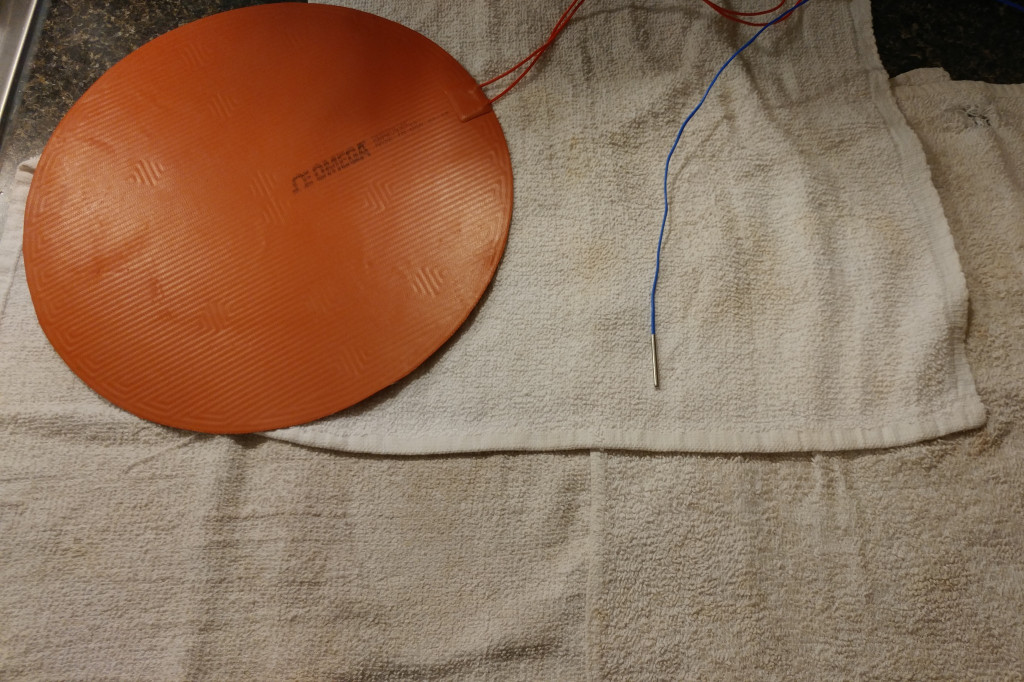
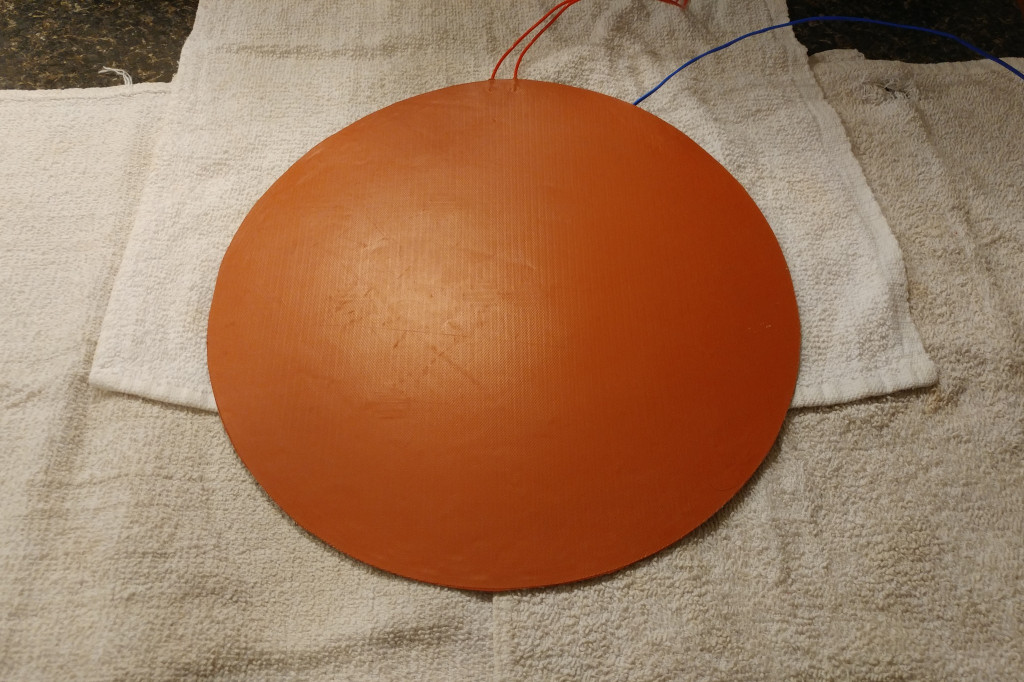
Accurate temperature readings are critical to the process, but a device that keeps the chocolate at a specific temperature is even better! For that, I put together a PID controller and heating mat. (Specifically, I used the Auber Instruments SYL-2352 with the Omega SRFR-11/10. The heater is 11 inches in diameter and outputs 950W, which is way overkill for this. At 10 W/in2, this mat would quickly destroy itself and probably catch on fire without something to control its output or absorb all that heat. It looks like this particular model is discontinued, the largest they make now is the SRFRA-10/10.)
Put simply, the PID controller takes a temperature measurement as an input, and controls the heat source as an output. Using calculus, it creates a feedback loop that results in a very precise and stable temperature, without overshooting the target.
For my setup, I melt the chocolate in a non-stick aluminum frying pan placed on a silicone heating mat. Underneath that is the PID controller's temperature probe, which is above some insulation on the counter. This lets me set the PID controller to a specific setpoint to keep the pan and its contents precisely at that temperature.
Step 1: Melting
The first step is to completely melt the chocolate. With the PID controller set to the melting temperature, I can more or less leave it until it's done. Stirring the chocolate as it melts helps speed up the process. This is the easy part!
Step 2: Crystallizing
Once fully melted, the chocolate has to cool to start the crystallization process. Personally, I found the instructions printed on the chocolate packaging and commonly posted online to be incredibly misleading. They suggest adding tempered chocolate pieces at this stage, ranging from as little as 5% to as much as 33% by weight. The problem is that there simply isn't enough heat to fully melt the added chocolate. So you're either left with small lumps throughout your chocolate, or are forced to increase the heat to melt the lumps, which basically puts you back where you started.
After a bit of struggling, I came to the realization that these instructions are really intended for commercial production. The large tempering machines at this scale typically have a baffle which traps and retains any lumps, keeping them separate from the working chocolate. And the primary reason they're adding chocolate is to speed up the cooling process, not for inducing crystallization. It's faster and more efficient to use room temperature chocolate to cool the batch, as opposed to an electric cooling device (or, simply waiting longer).
At the small scale of a home kitchen, the time savings are not worth the added frustration of having lumps in the chocolate. Instead, I simply place the frying pan onto a frozen ice pack and stir the chocolate until it cools sufficiently. The ice speeds up the cooling process, and the stirring produces more than enough agitation to induce crystal formation.
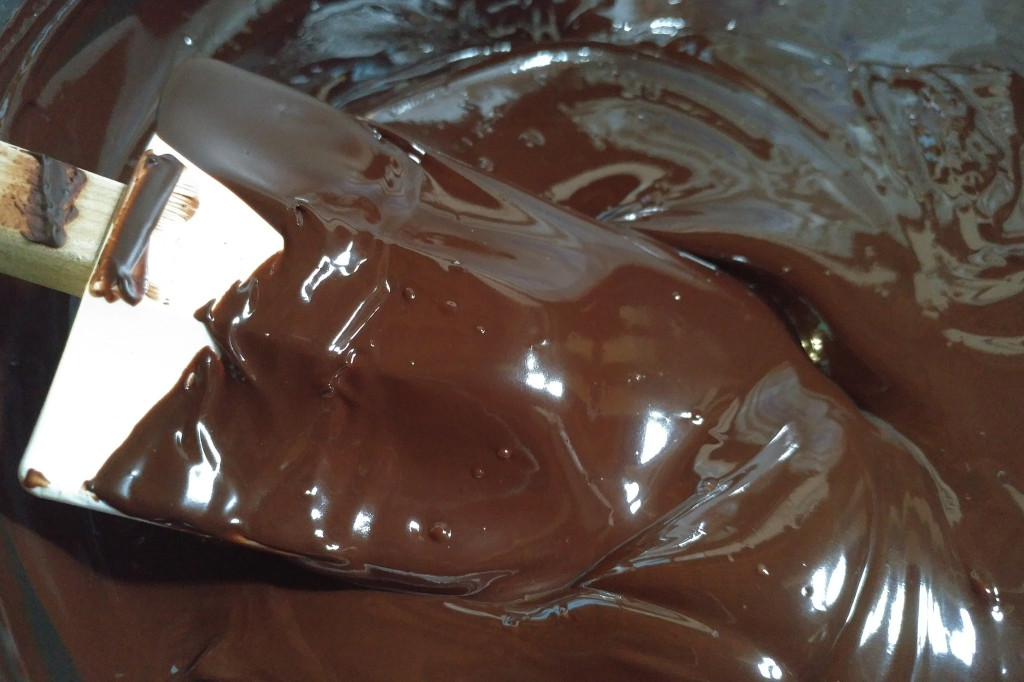
You'll notice the chocolate starts to thicken as it cools, becoming viscous enough for valleys to stay behind after stirring. The exact temperature at which this occurs depends on the chocolate.
Notice that the spatula has smooth, satin-textured chocolate building up at the top. This is an indication that the chocolate has become tempered. You could stop here and move on to the next step and it would almost certainly be fine.
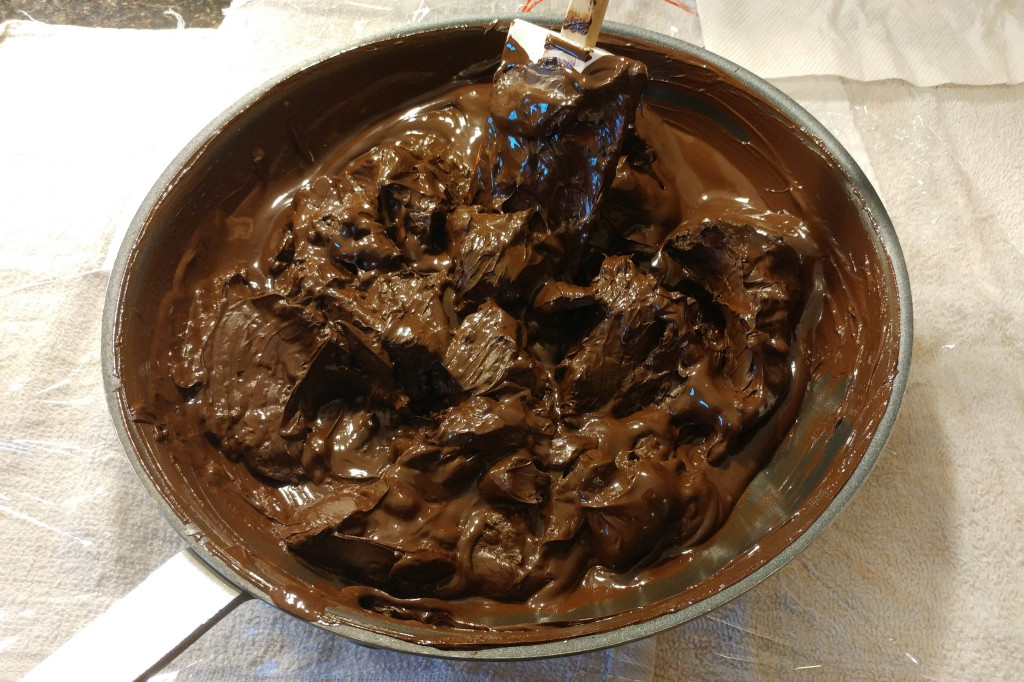
However, it's actually possible to "over-temper" the chocolate by cooling and agitating it too much. This results in so much crystallization that the chocolate becomes an incredibly thick, not-quite-solid but totally unworkable mass.
This may look bad, but it's actually not a problem at all! In fact, it's undeniable confirmation that you've successfully tempered the chocolate (albeit, too much). Warming it up to melt some of the crystals will reliquify the chocolate. I find a heat gun is handy for this, because it gives you a quick blast of heat that's easy to control. Just don't heat the batch so much that all of the beta crystals melt!
Step 3: Working
At this point, the chocolate is ready to bring to the working temperature. With the PID controller, I can set it to the proper temperature and not have to worry about it. After it reaches the working temperature, it's a good idea to double-check that the chocolate is actually tempered.
This is another case where I found the prevailing wisdom to be very inaccurate. Common advice says to remove a dab of chocolate, wait for it to cool, and confirm that it "snaps". This advice seems to come from a misunderstanding of the process. Depending on the ambient temperature, crystallization of the cocoa butter can take hours to complete, and you won't get a snappy result until this has happened!
It turns out, snappiness is not necessary to confirm the temper. The distinction between untempered and tempered chocolate is visually apparent if you know what to look for. A small blob of untempered chocolate will remain shiny as it cools, whereas tempered chocolate will become a smooth, satin texture within a minute or so (as seen on the spatula above). This is what you're looking for. The tempered chocolate will still be brittle and can be easily smeared, but this is okay! You'll get that "snap" hours later, after it fully crystallizes.
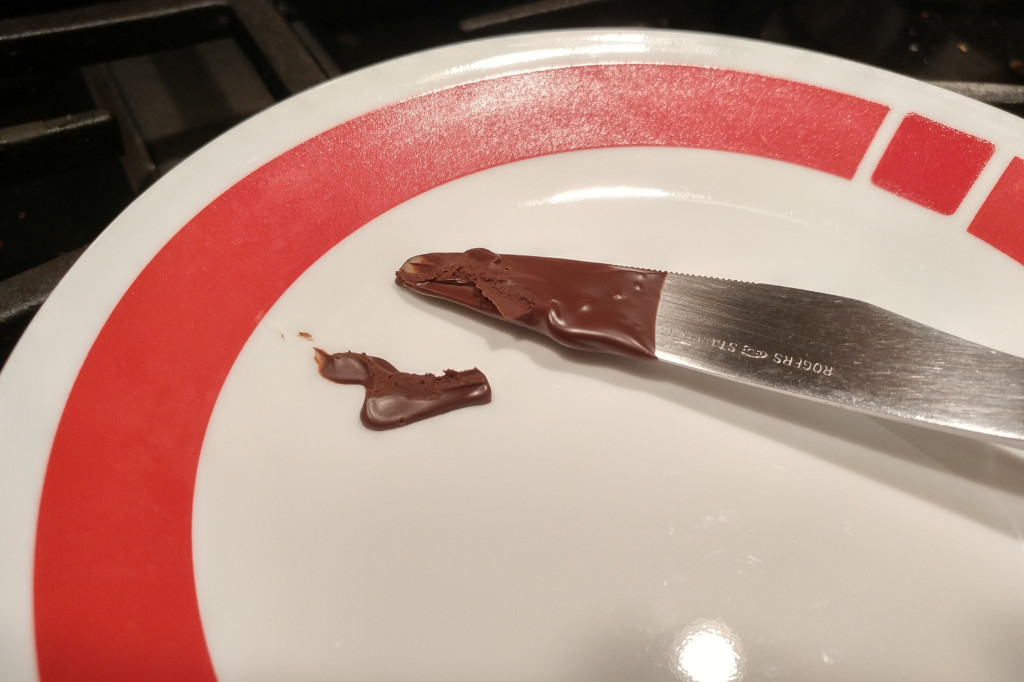
Here's an example of a knife dipped in successfully tempered chocolate. Notice the smooth surface texture; that's the key indicator. The broken off piece is crumbly, which is entirely normal at this stage.
Once you have confirmed the temper, the chocolate can be molded into shapes, used for coating, drizzled on popcorn, or used however you like!
Tips
It's worth noting that if your supply of tempered working chocolate is running low, you can replenish it by gradually adding small amounts of melted chocolate. As long as you don't add too much at once, which would get it too hot and ruin the temper, you can keep the tempered batch going. With the right cadence, these small additions can also keep the chocolate at the proper working temperature.
If you're not using a temperature-controlled frying pan, an occasional wave from a heat gun is enough to keep it warm. Be sure to stir frequently, and keep an eye on the temperature to avoid heating it too much.
You may also find that as the tempered chocolate sits, and gets stirred during use, it gets thicker. The heat gun can also be used to thin it back out, without breaking the temper. Melt it just a bit and stir thoroughly. As long as the overall temperature stays under the working temperature, this technique can be used to keep the viscosity manageable.
Once you're done using the chocolate, I find it helpful to mold it into small shapes to speed up future melting. A silicone mold like this one can even be used to make your own chocolate chips!
